
Do you want to grow cannabis outside with the best results?
Are you a new grower who desires the process and tricks to grow the best quality cannabis plants?
You have come to the right place. Here, you will get all the necessary details about growing, harvesting, drying, and curing cannabis plants.
Growing cannabis outdoors is an easy and exciting task if done correctly.
With the latest advancement in technologies, it has become easy yet hectic for people to grow cannabis indoors.
In contrast, growing your cannabis plants outdoors eliminates the need for bulky equipment and depends totally on natural phenomena.
Being the most traditional way, you can now easily grow cannabis outdoors by following this comprehensive step-by-step guide. So let’s dig in.
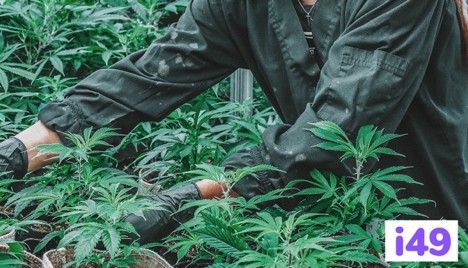
Step #1: Get the Best Appropriate Seed
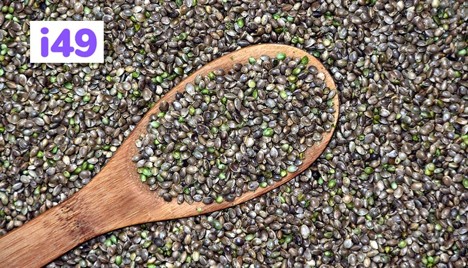
To begin your cannabis growth procedure, you have to choose the right seeds.
If you’re planning to grow cannabis outdoors, you have to look for something beyond the expectation level.
You must know that certain cannabis seeds grow best in a particular type of environment and climate. The right choice of your strain will decide the quality of your cannabis growth.
Suppose you live in a tropical area, then you’ll be lucky enough to grow any cannabis seeds in that place. These areas are extremely humid, with no climatic changes throughout all seasons.
If you’re growing an Indica or Sativa strain, you won’t face much trouble in such areas.
If you live in the US, you will have to be a bit accurate and correct about choosing your cannabis seeds. You can select an Indica or Indica-dominant hybrid seed to grow for excellent cultivation yields.
Indica breeds finish off their flowering stage in the middle of September or October, so it will be easier for you to grow cannabis outdoors.
Step #2: Choose the Perfect Spot for Your Cannabis Growth
If you’ve chosen the right seed for cannabis growth, you have to choose the perfect spot for it to grow.
It is crucial to choose the right spot so that your cannabis plants receive enough light and air for them to grow. In addition, ensure to choose a place with no excessive wind flow.
The main trick here is to look for a place that gets a lot of direct sunlight. You can choose a place like a balcony or garden facing the south with no obstructions to get direct sunlight.
You can choose a place that gets at least 6 hours of direct light in the entire day.
But, if you live in a frigid area, like Alaska, you can grow your cannabis by placing them next to the wall or object that retains enough heat to avoid the stress of your cannabis plants.
If you live in a place near the equator, you have to choose a place with maximum light in the day and a cool breeze and shade at night.
So, get the right and appropriate place now, and get started with your cannabis growth.
Step #3: Perform Indoor Germination for Better Growth of Your Cannabis Plants
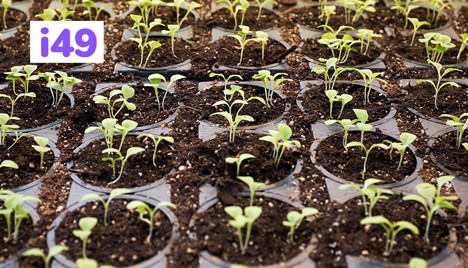
If you want to ensure the growth of your cannabis seeds outdoors, you will have to germinate them indoors before transferring them to the outdoor surface.
If you germinate your cannabis seeds indoors, you will enjoy the option to find the healthiest seeds from all of them. This will save your fertilizers and soil mix from plants that wouldn’t have given you proper results.
If you’re looking for the best time to start your germination process, then it is spring. You have to germinate the cannabis seeds for at least two or three weeks.
You have to get a sunny window board. Try not to take the seeds outside until 2-3 weeks. If followed correctly, your seedlings will turn 15cm tall with three branch nodes.
It is essential to keep your seedlings healthy and resilient to avoid any insect attack, wind storm, fluctuating temperatures, etc. You can use seed and clone germination from the best providers for a controlled environment.
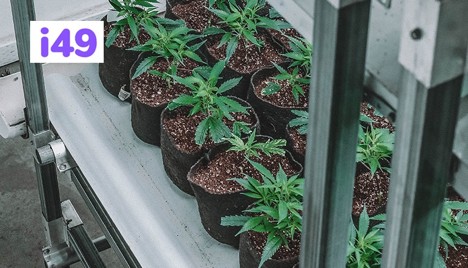
Step #4: Choose Your Soil and Fertilizer
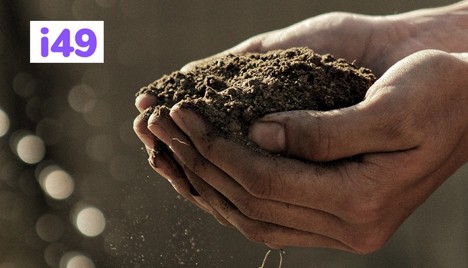
If you want the optimum growth of your cannabis plants, you will need soil with a rich source of nutrients, mild acid, and a well-drainage system. You can find all these components in a silty soil area.
You have to loom for soil rich in silt to lock the nutrients and humidity in your cannabis plants. These soils will provide oxygenation to the root zone of your cannabis plants well.
If you can’t find suitable soil in your area, you can create your own soil mix. You have to prepare your plantation area while starting the germination procedure.
If you’re all set with your soil and area, start digging holes. Here, you will put worm castings, organic compost, and manure for better cannabis growth. The foundation layer of the soil will become highly nutritious and suitable for your cannabis growth.
Although your manure, compost, and worms will provide enough nutrients to your cannabis plants, adding fertilizers will boost further growth. Now, you have to decide to choose either synthetic or organic fertilizer.
Worry less about the time, and think about higher quality buds. Go with the organic fertilizers for slow yet best quality bud productions.
If you want to use supplements, choose the specific ones made for cannabis. Your overall aim should be to boost the growth and quality of your cannabis plants.
Step #5: Avoid Overfeeding and Maintain pH Level

You must know that overfeeding cannabis plants will lead them to toxicity and lethal damage.
Anything consumed excessively or heavily can become harmful, be it food for us or cannabis plants. So, avoid overfeeding the plants to protect them from any damage.
If you’re a new cannabis grower, you may mistake the nutrients lockout of the cannabis plants as a deficiency. This happens when the nutrients are available to the cannabis plants, but the roots refuse to absorb them.
This can also happen due to improper pH balance. If you’re growing cannabis outdoors, maintain a pH level of 6-7 for your desired level of quality of cannabis buds.
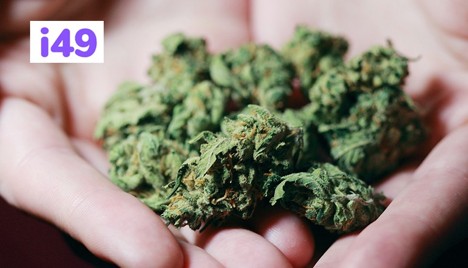
Step #6: Harvest and Dry the Buds
If you stay cautious and focused on your cannabis growth in the entire process, you will definitely get success.
Here, your success will be in the form of the best quality buds you’ve ever experienced. After keeping the regular maintenance of your cannabis plants with the right amount of nutrients, water, and protection, you will get definite results.
Within 9-20 weeks from the growth stage, you can start to harvest them.
Keep in mind that if your cannabis plant’s pistils get darkened, trichomes become milky, and buds become puffed enough, then you will surely need a harvest.
With the spacious advantage of growing cannabis outdoors, you can harvest about half a kilo or more of cannabis buds from a single massive plant.
Finally, you’ll be left with the trimming task, which can be done either after or before the drying process of your buds.
You can choose anyway and get the best-desired results. Now, ensure to keep all the buds in glass mason jars for curing.
Your cannabis plants are converted into the best quality buds you’ve ever seen. You’re all set to go now.
So, follow this comprehensive guide that we discussed and enlightened with advice from i49 cannabis seed company in the US to grow the best quality cannabis outdoors.